This is the first year that I have ordered seeds and am trying to grow as much as I can with my own starts.
Don’t get me wrong, starts are amazing, and you can plant right after your last freeze.
The problem is that I have admittedly been very intimidated by seeds. It might sound silly but I was really worried the seeds would fail, and that would be the be all end all of my joy of gardening.
But I had to look back and see that gardening with starts isn’t always a guarantee of success either.
Between things not well suited for my growing zone, pests, disease and FROST I have thrown an awful lot of starts into the compost pile and headed for the nursery before.
The idea of something so tiny that does not resemble the finished product in away way fascinates me.
With good soil, light and moisture that seed turns into a teeny baby plant, grows, and more often than not ends up on your dinner table.
So with a lot of reading and many learning moments on You Tube I decided it was my year.
I ordered heat mats, some organic seed starting mix, some containers and grow lights and started my search for what I wanted to grow this year.
Celery, tomatoes, herbs, cucumbers, cabbage and all lettuce grow well in my area. As do carrots, melons, cilantro and peppers. This year I added to the mix flowers, and some heirloom seeds peas, beets, chives, and a chocolate pear tomato I am excited to see!
I made a list of the seeds that need to start inside that I will transfer to my greenhouse in the earlier months, and a list of direct sow seeds and when everything needs to get planted.
This is helping a lot as I felt a little overwhelmed as the little packets arrived and I did not have a plan.
That is a pattern for me 🙂
So as the little baby plants are growing under lights and the slower to germinate seeds are breaking thru the dirt, I realized I am in need of a transitional place for them. In addition to an safe place to grow and harvest from until our last frost. This is anywhere between April 1st and May 1st.
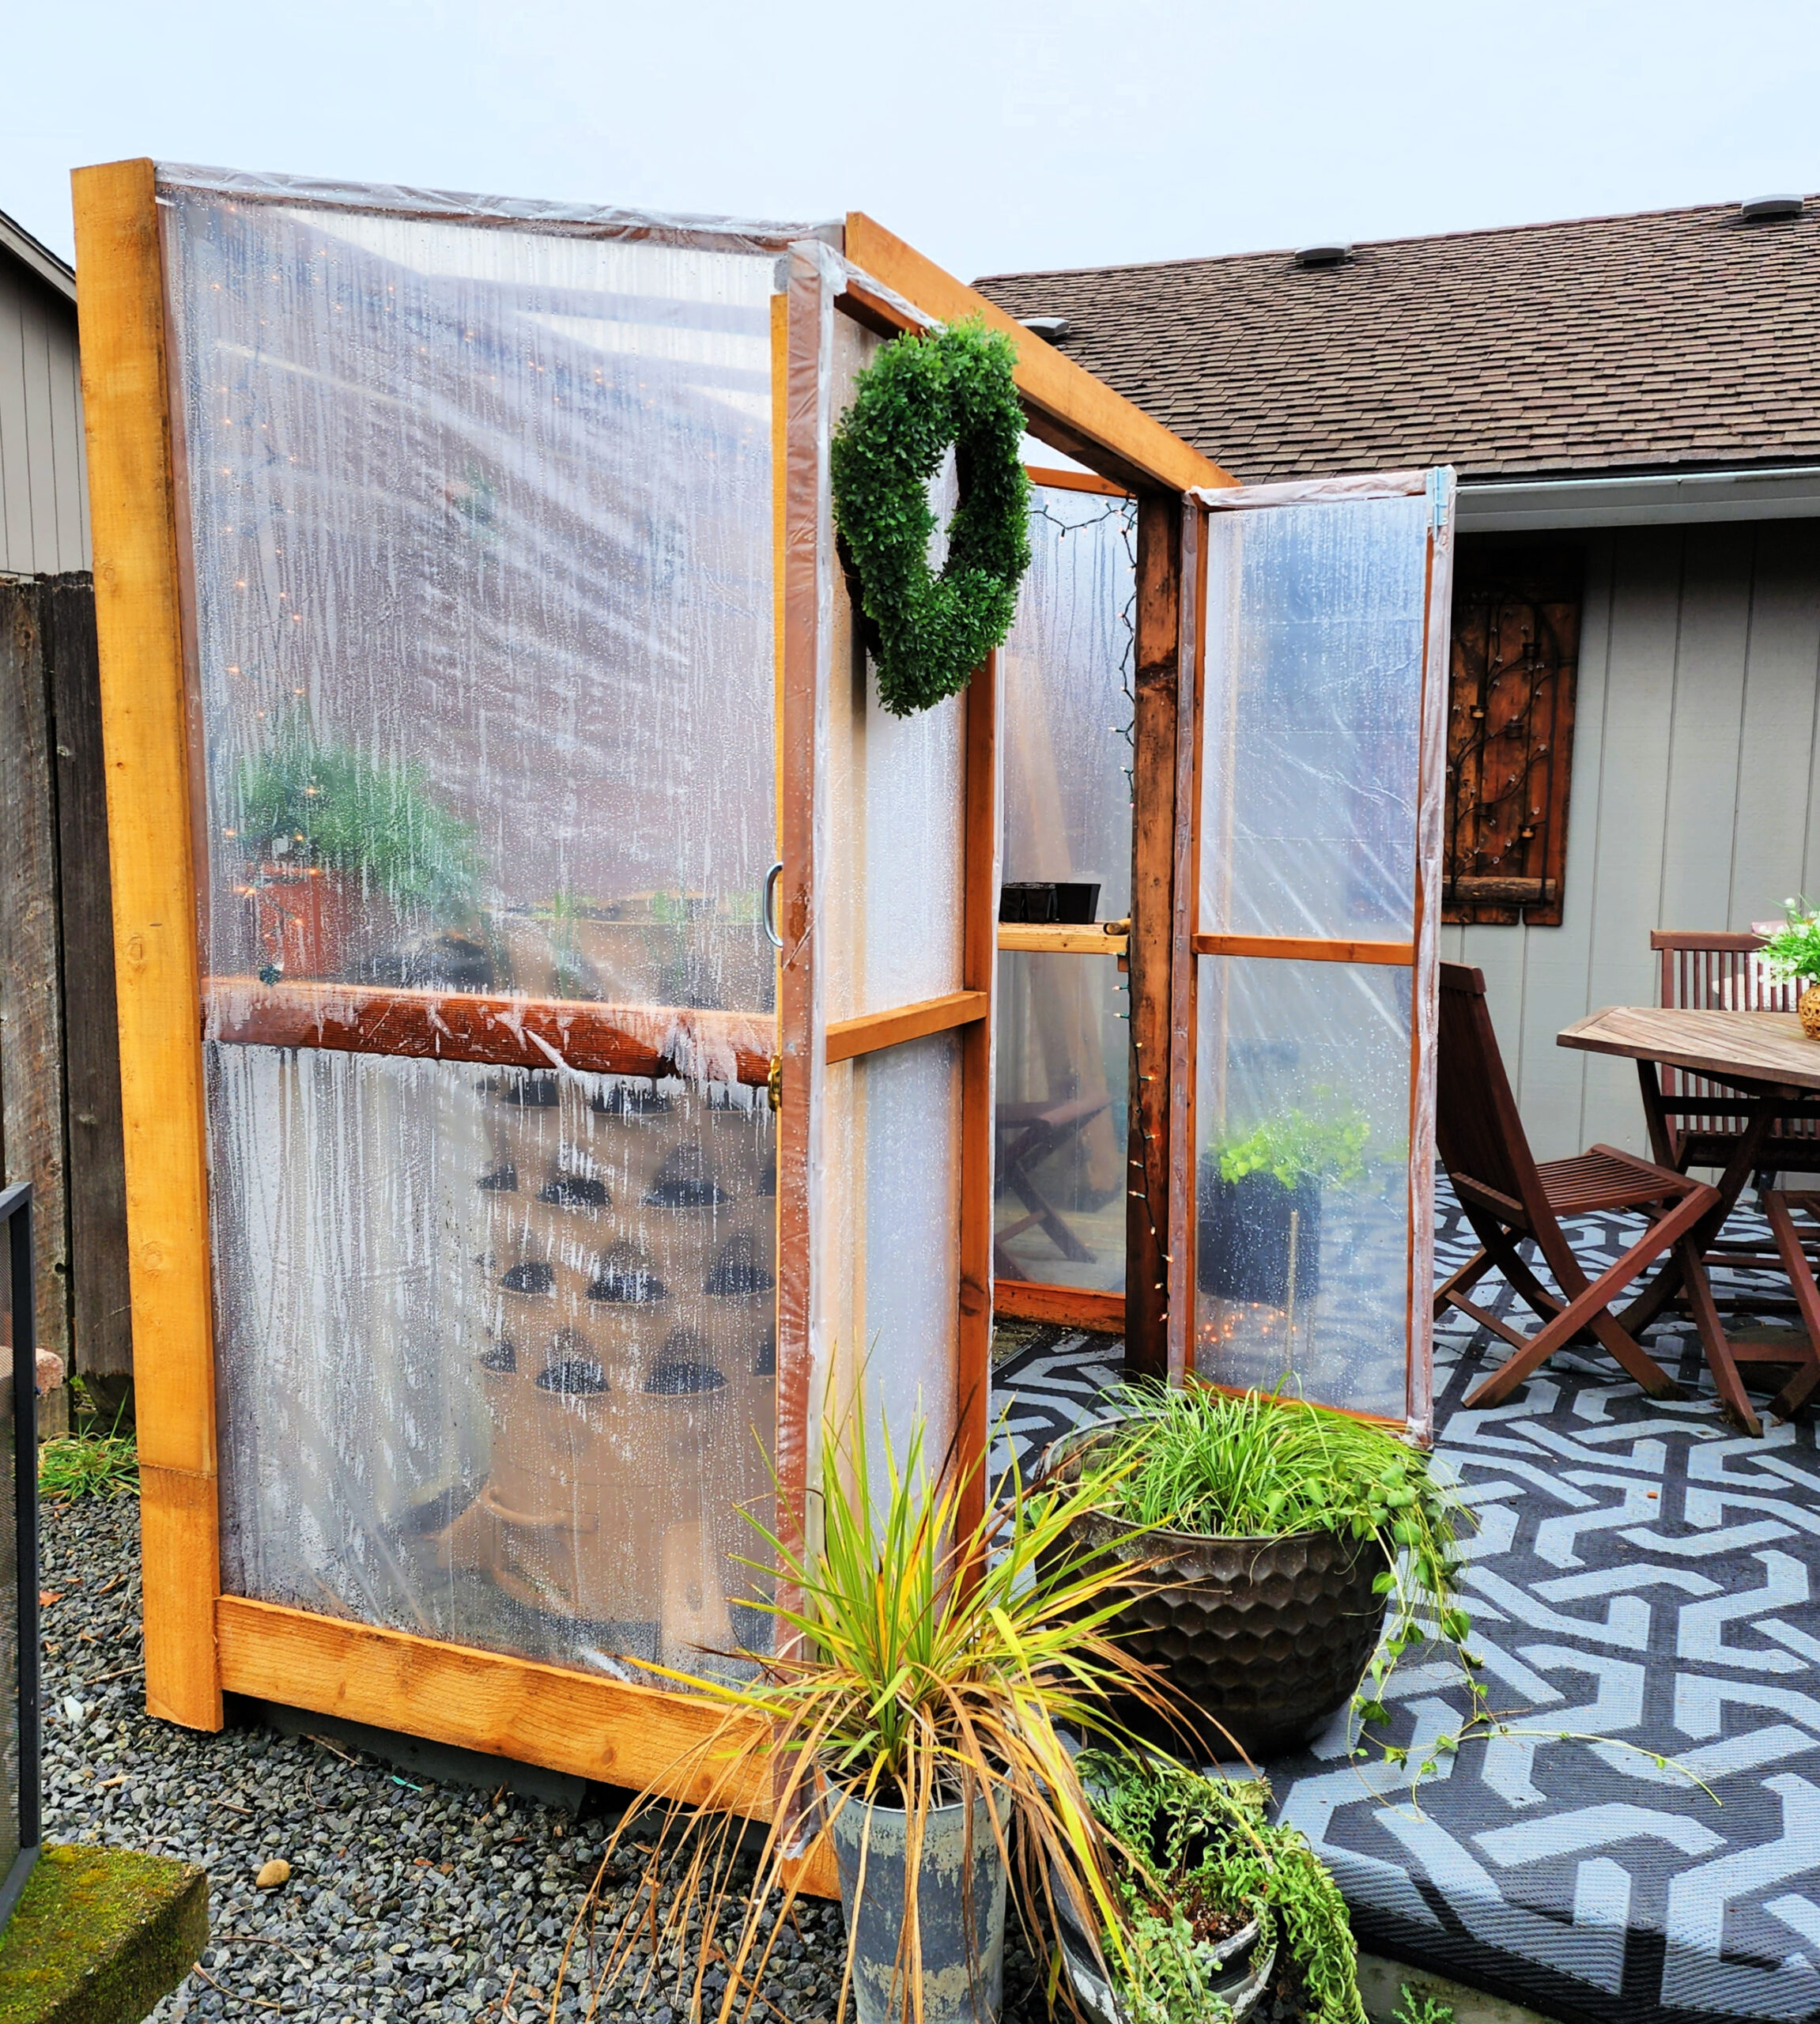
We decided we wanted the greenhouse somewhat close to the back of our house where it can get good light and be easily accessible.
From other projects we have done, we have quite a bit of scrap wood we have saved. So the only thing I bought was the roll of clear plastic. We had the wood, a drill, staples and staple gun, and a few latches and handles in our odds and ends bin.
Folks, this is where I started to get really excited, as the walls came up on the greenhouse more little lettuce starts were coming up under the grow lights.
Here is what we used:
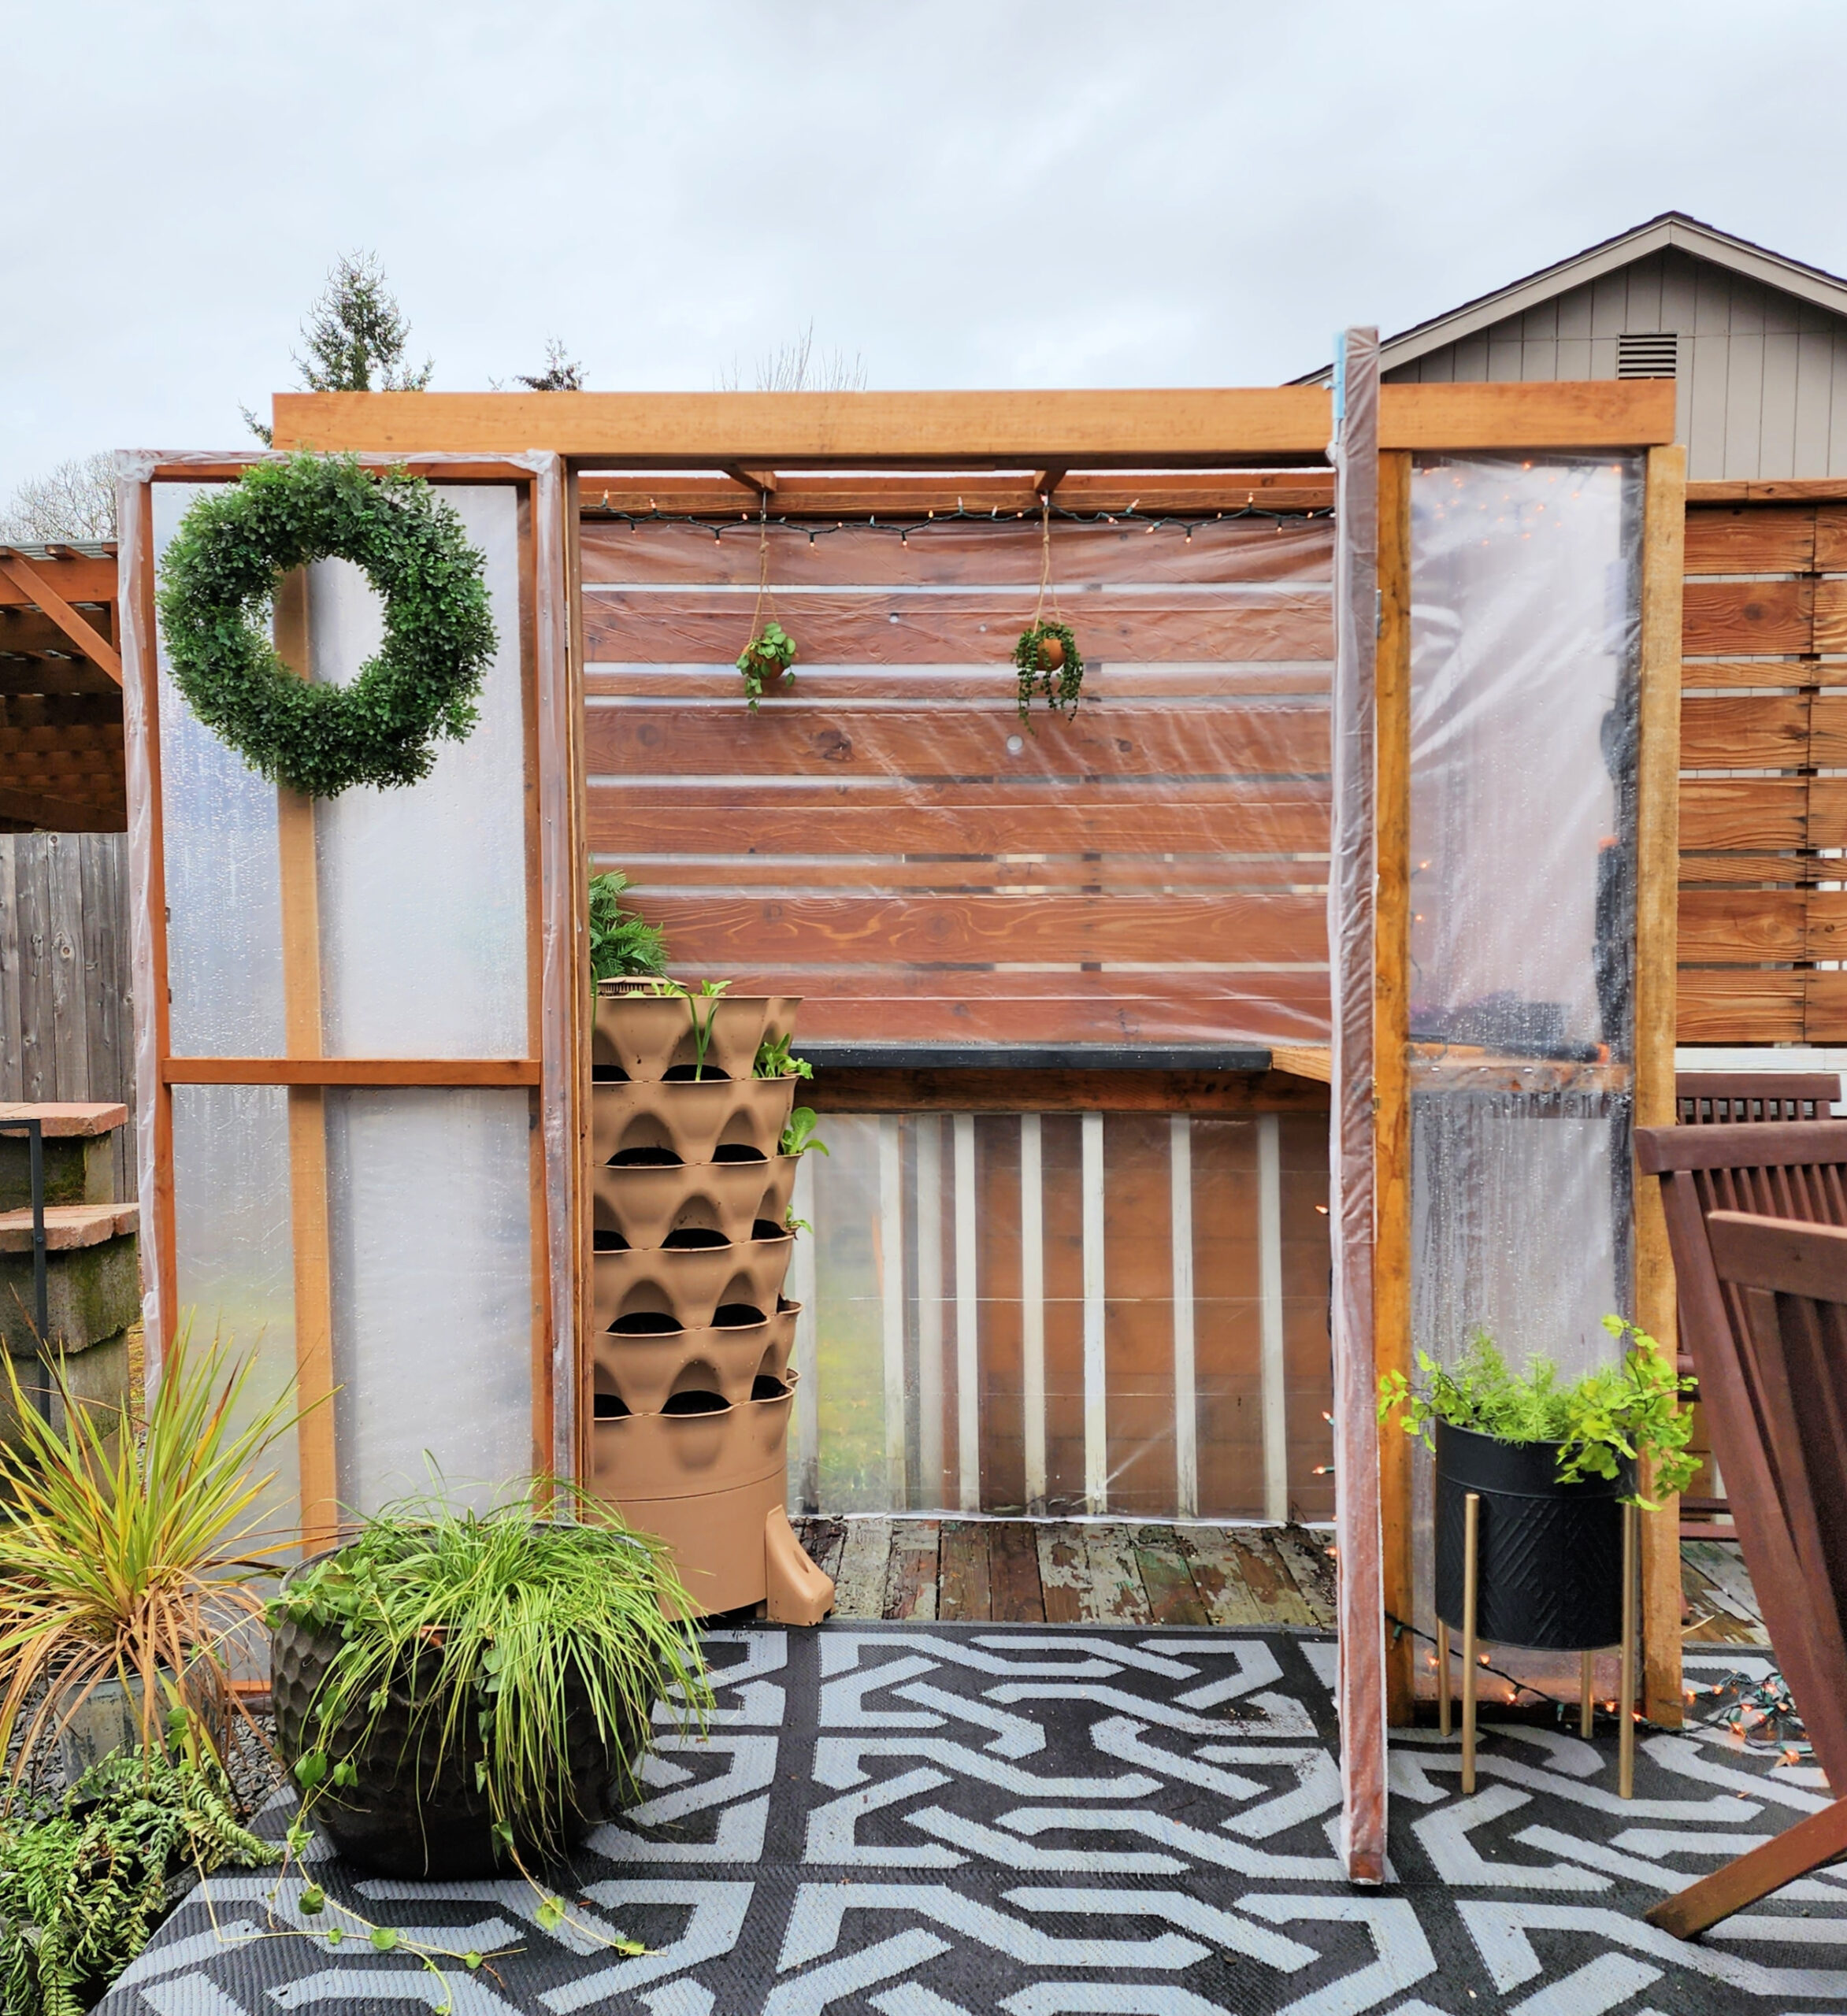
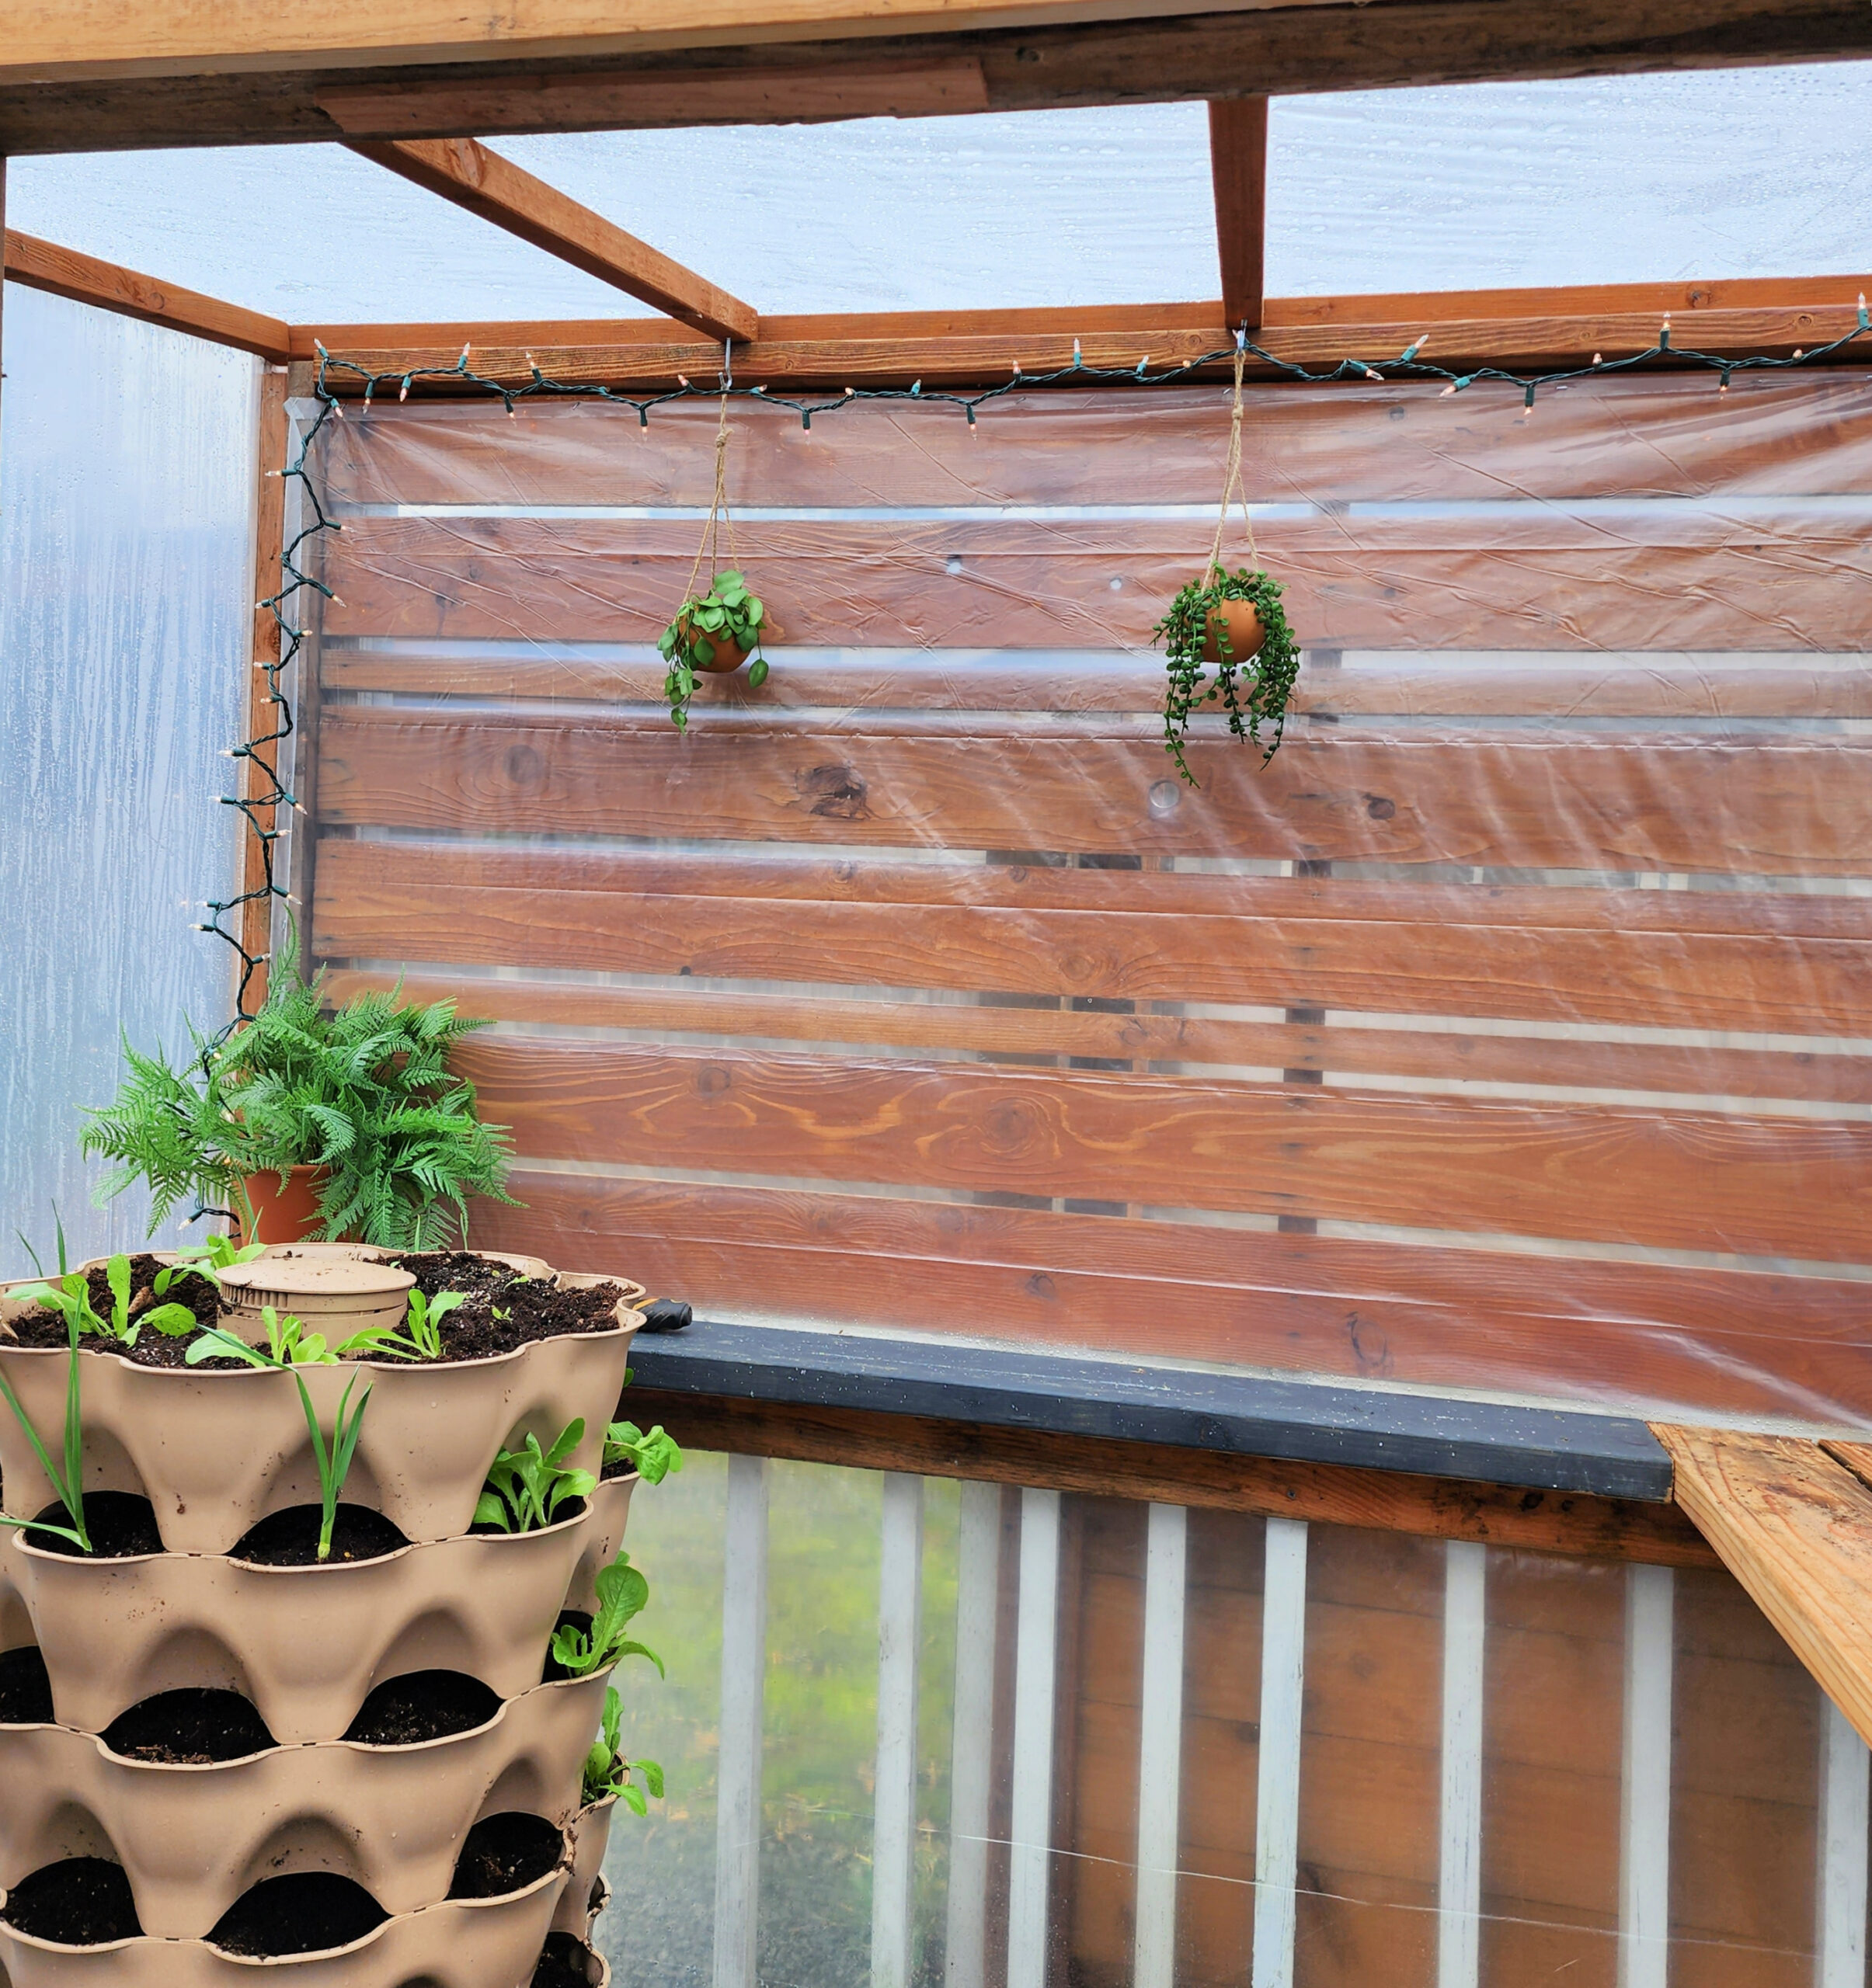
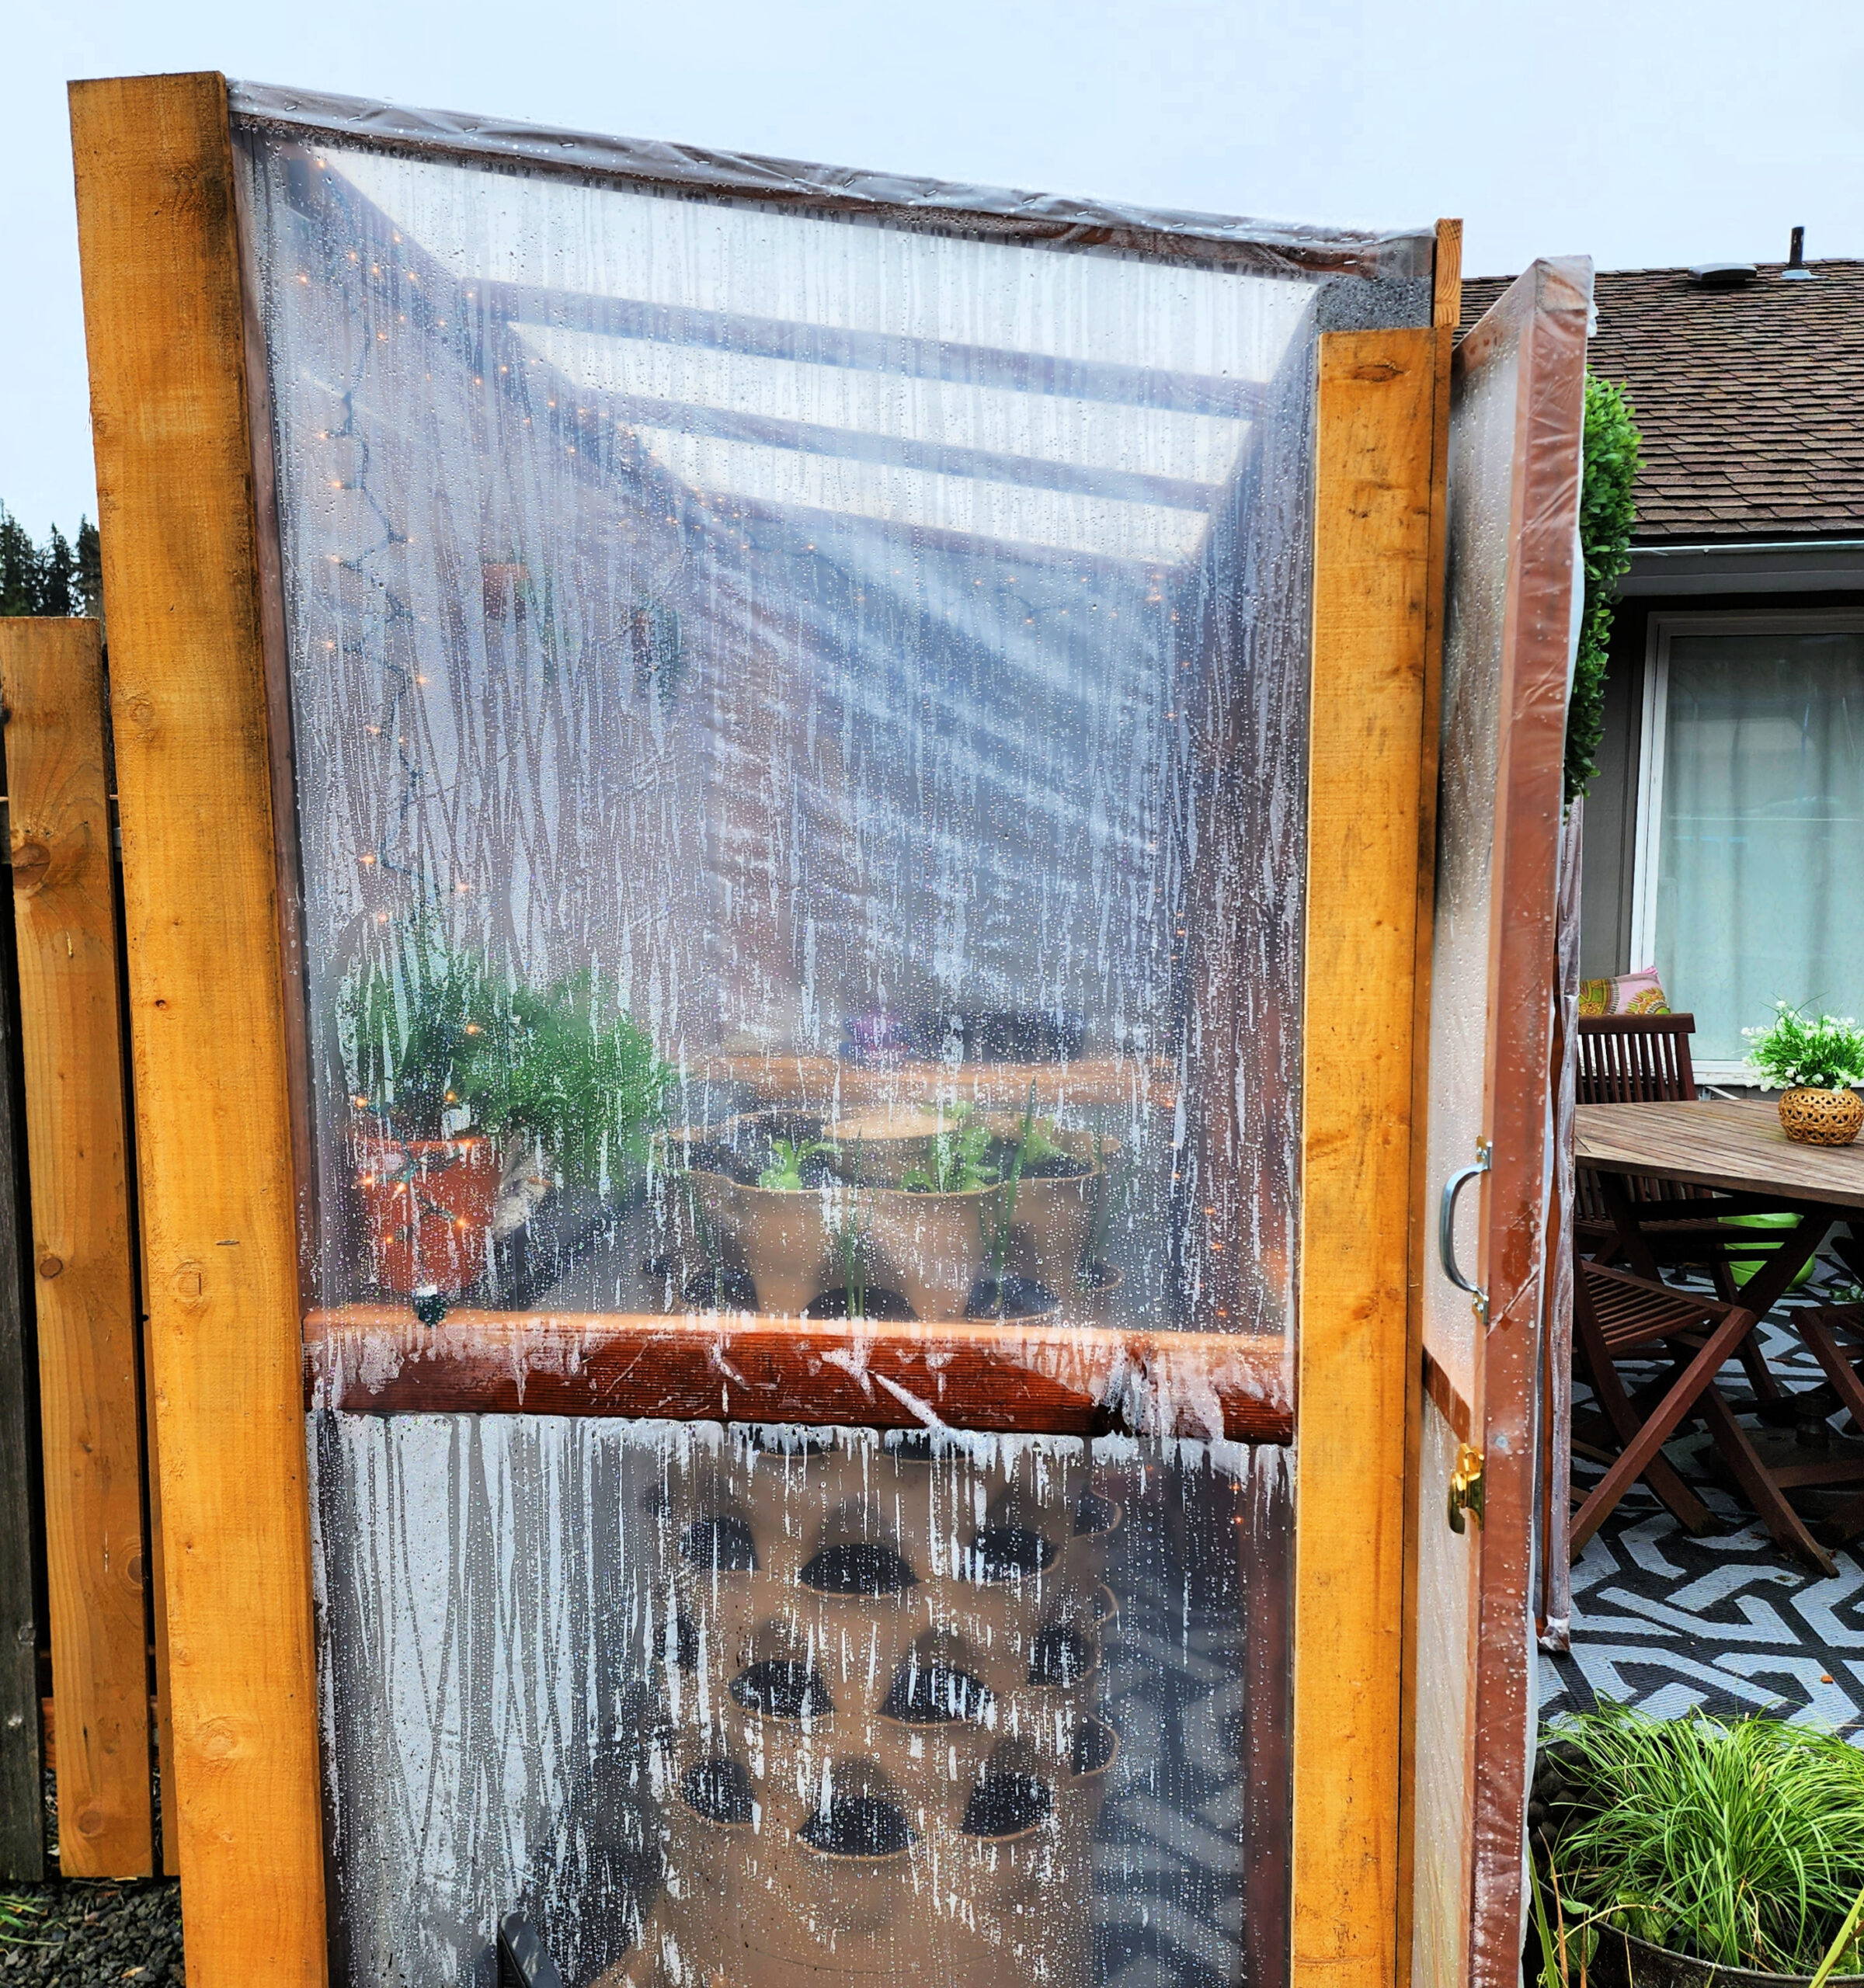
We used a lean-to model and cut the top and bottom plates with 2×4 wood each six feet long for the top and bottom in the back. We attached these to the edge of our deck and the privacy fence behind. We used 4 2×4’s at 92 inches for the back wall, spacing them evenly. For the front we knew we needed doors so we used two 2 foot pieces in the front and a six foot piece on the top. We then ran four 80 inch pieces for for the front corners and each side of the door. We used 6 40 inch side pieces to connect the front to the back wall. We used 2×2’s running 5 evenly spaced each 42 inches long for the roof at a slope for rain to properly run off the top. Luckily we had some extra 2×6 wood which we used to create a shelf on the right side, and another shelf along the back attaching to the middle 2×4 framing.
The doors we used 2×2 wood for framing and cross members. One door is 36″ and the other 12″. Once the frame and roof were complete we stapled 4 mil plastic along the outside of the exterior walls, around the doors and the back. We did the roof last to overhang past the wall plastic to protect from rain.
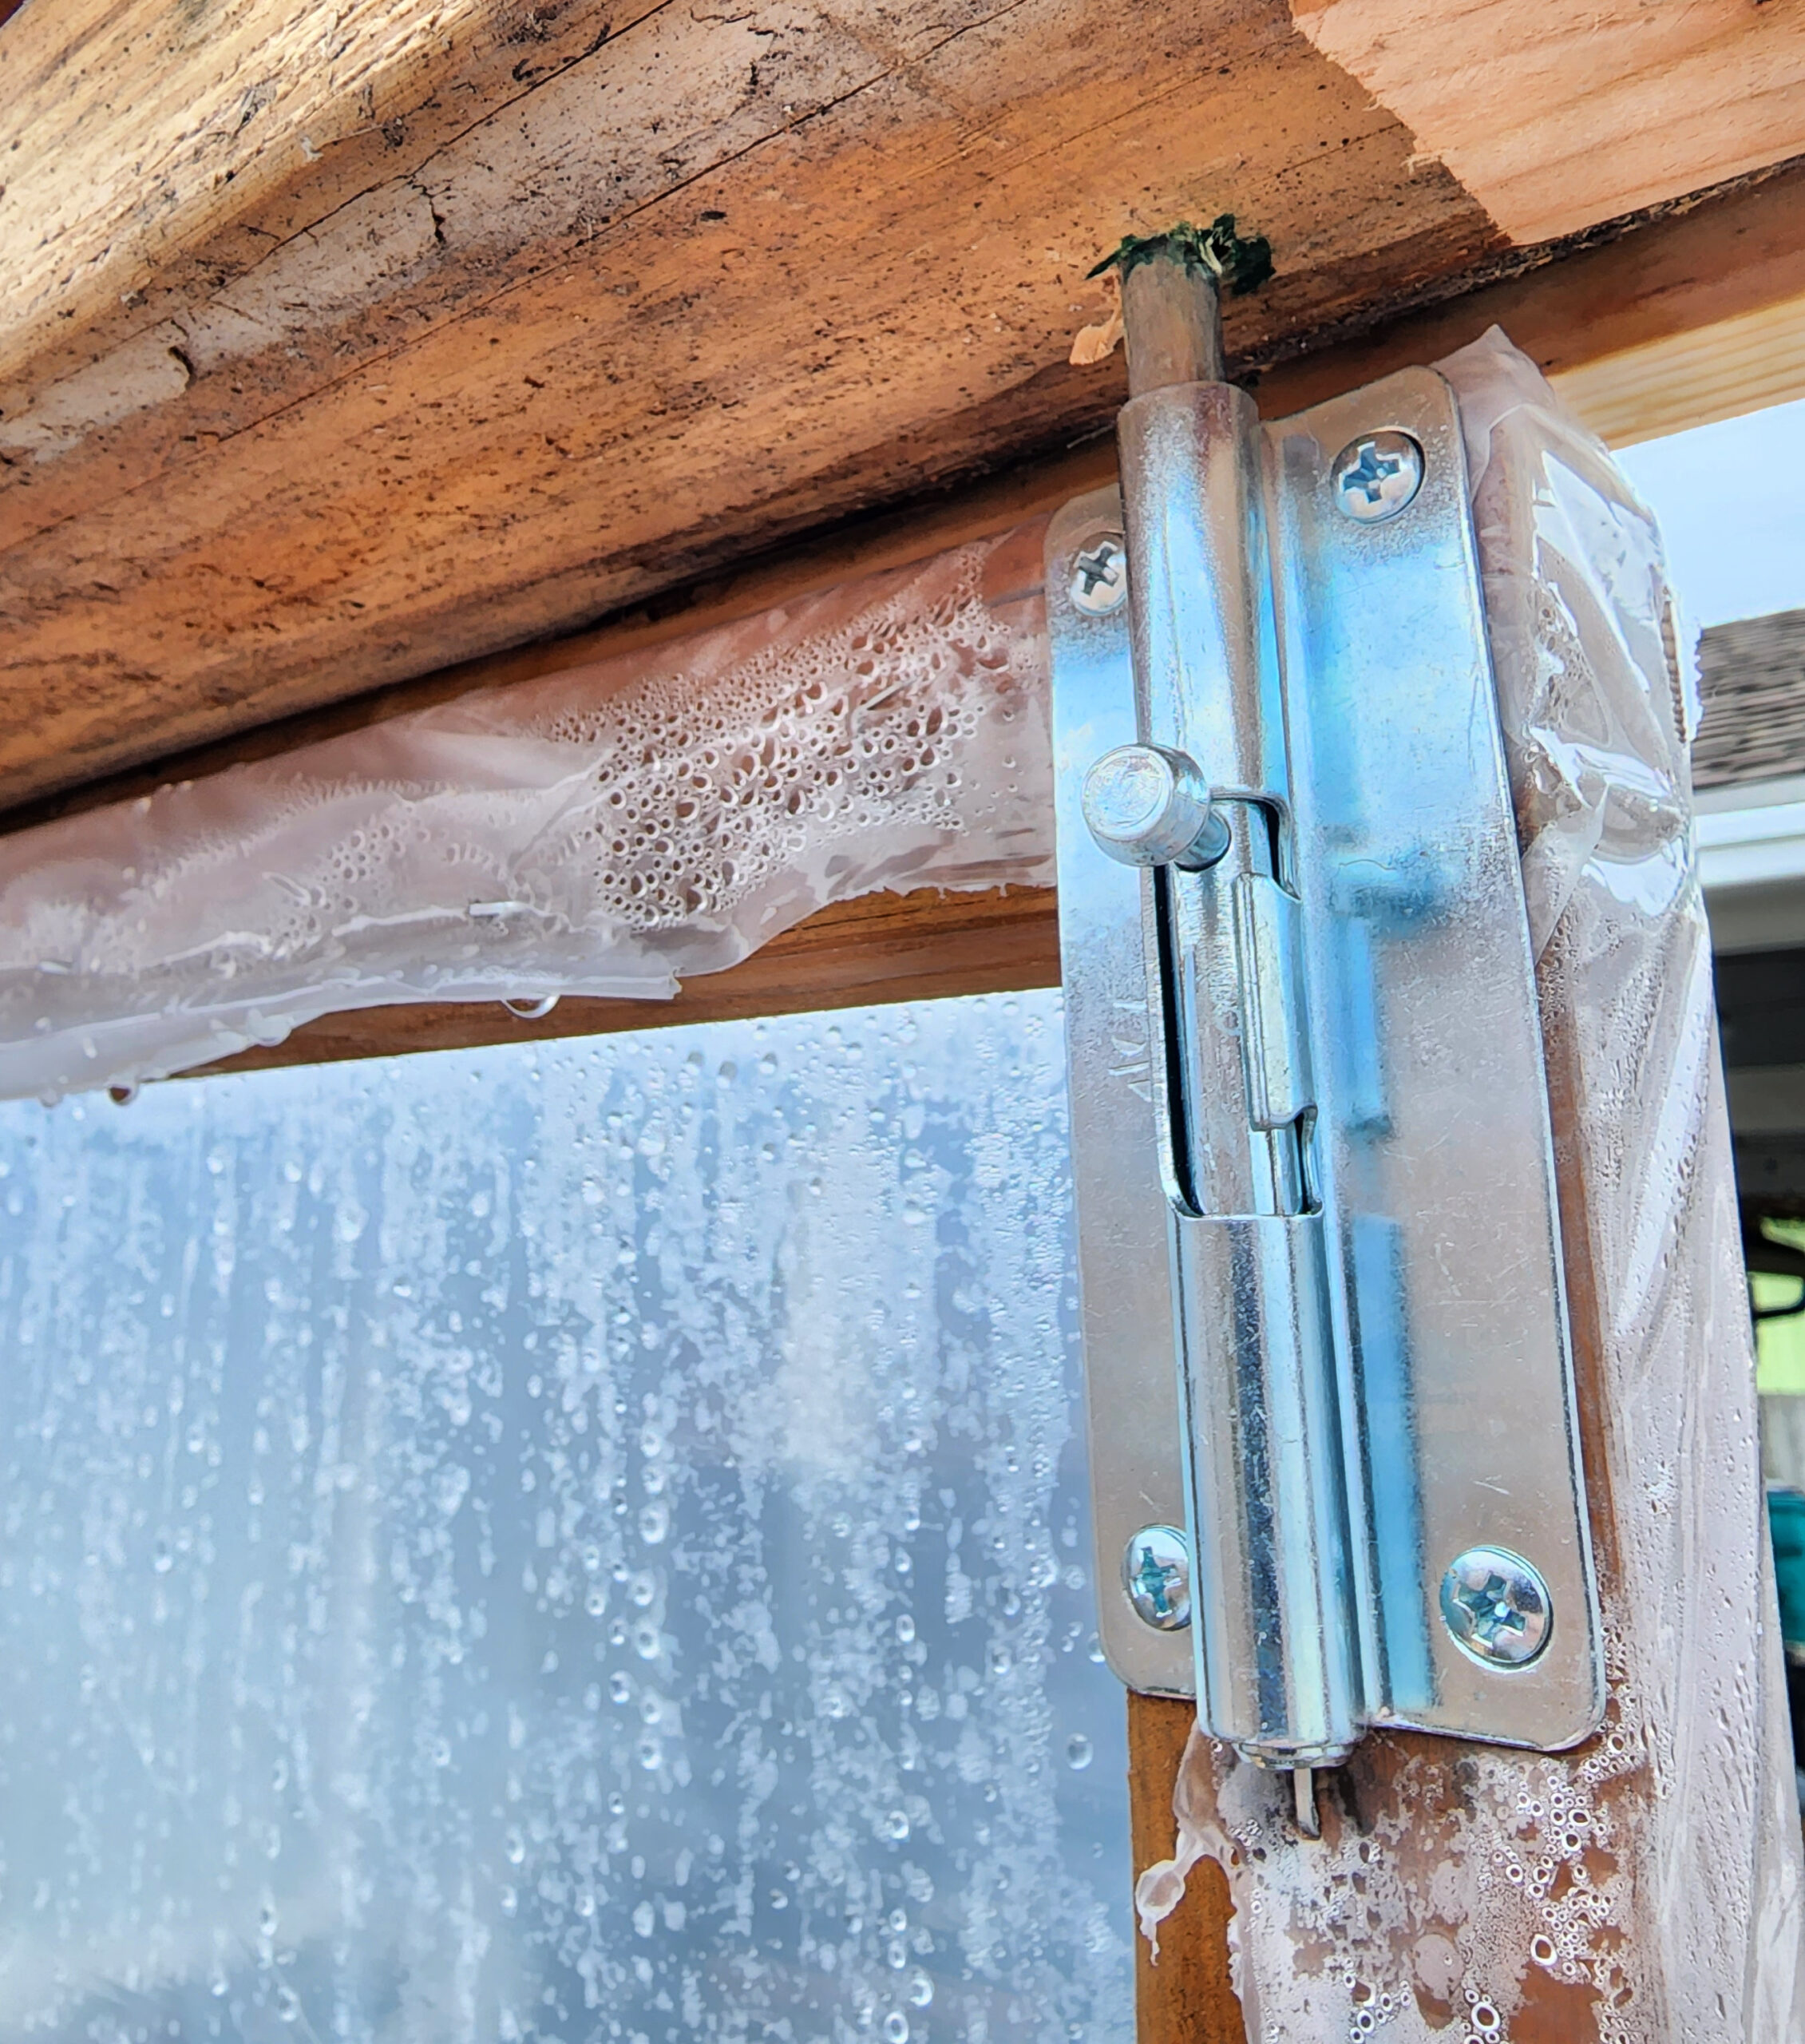
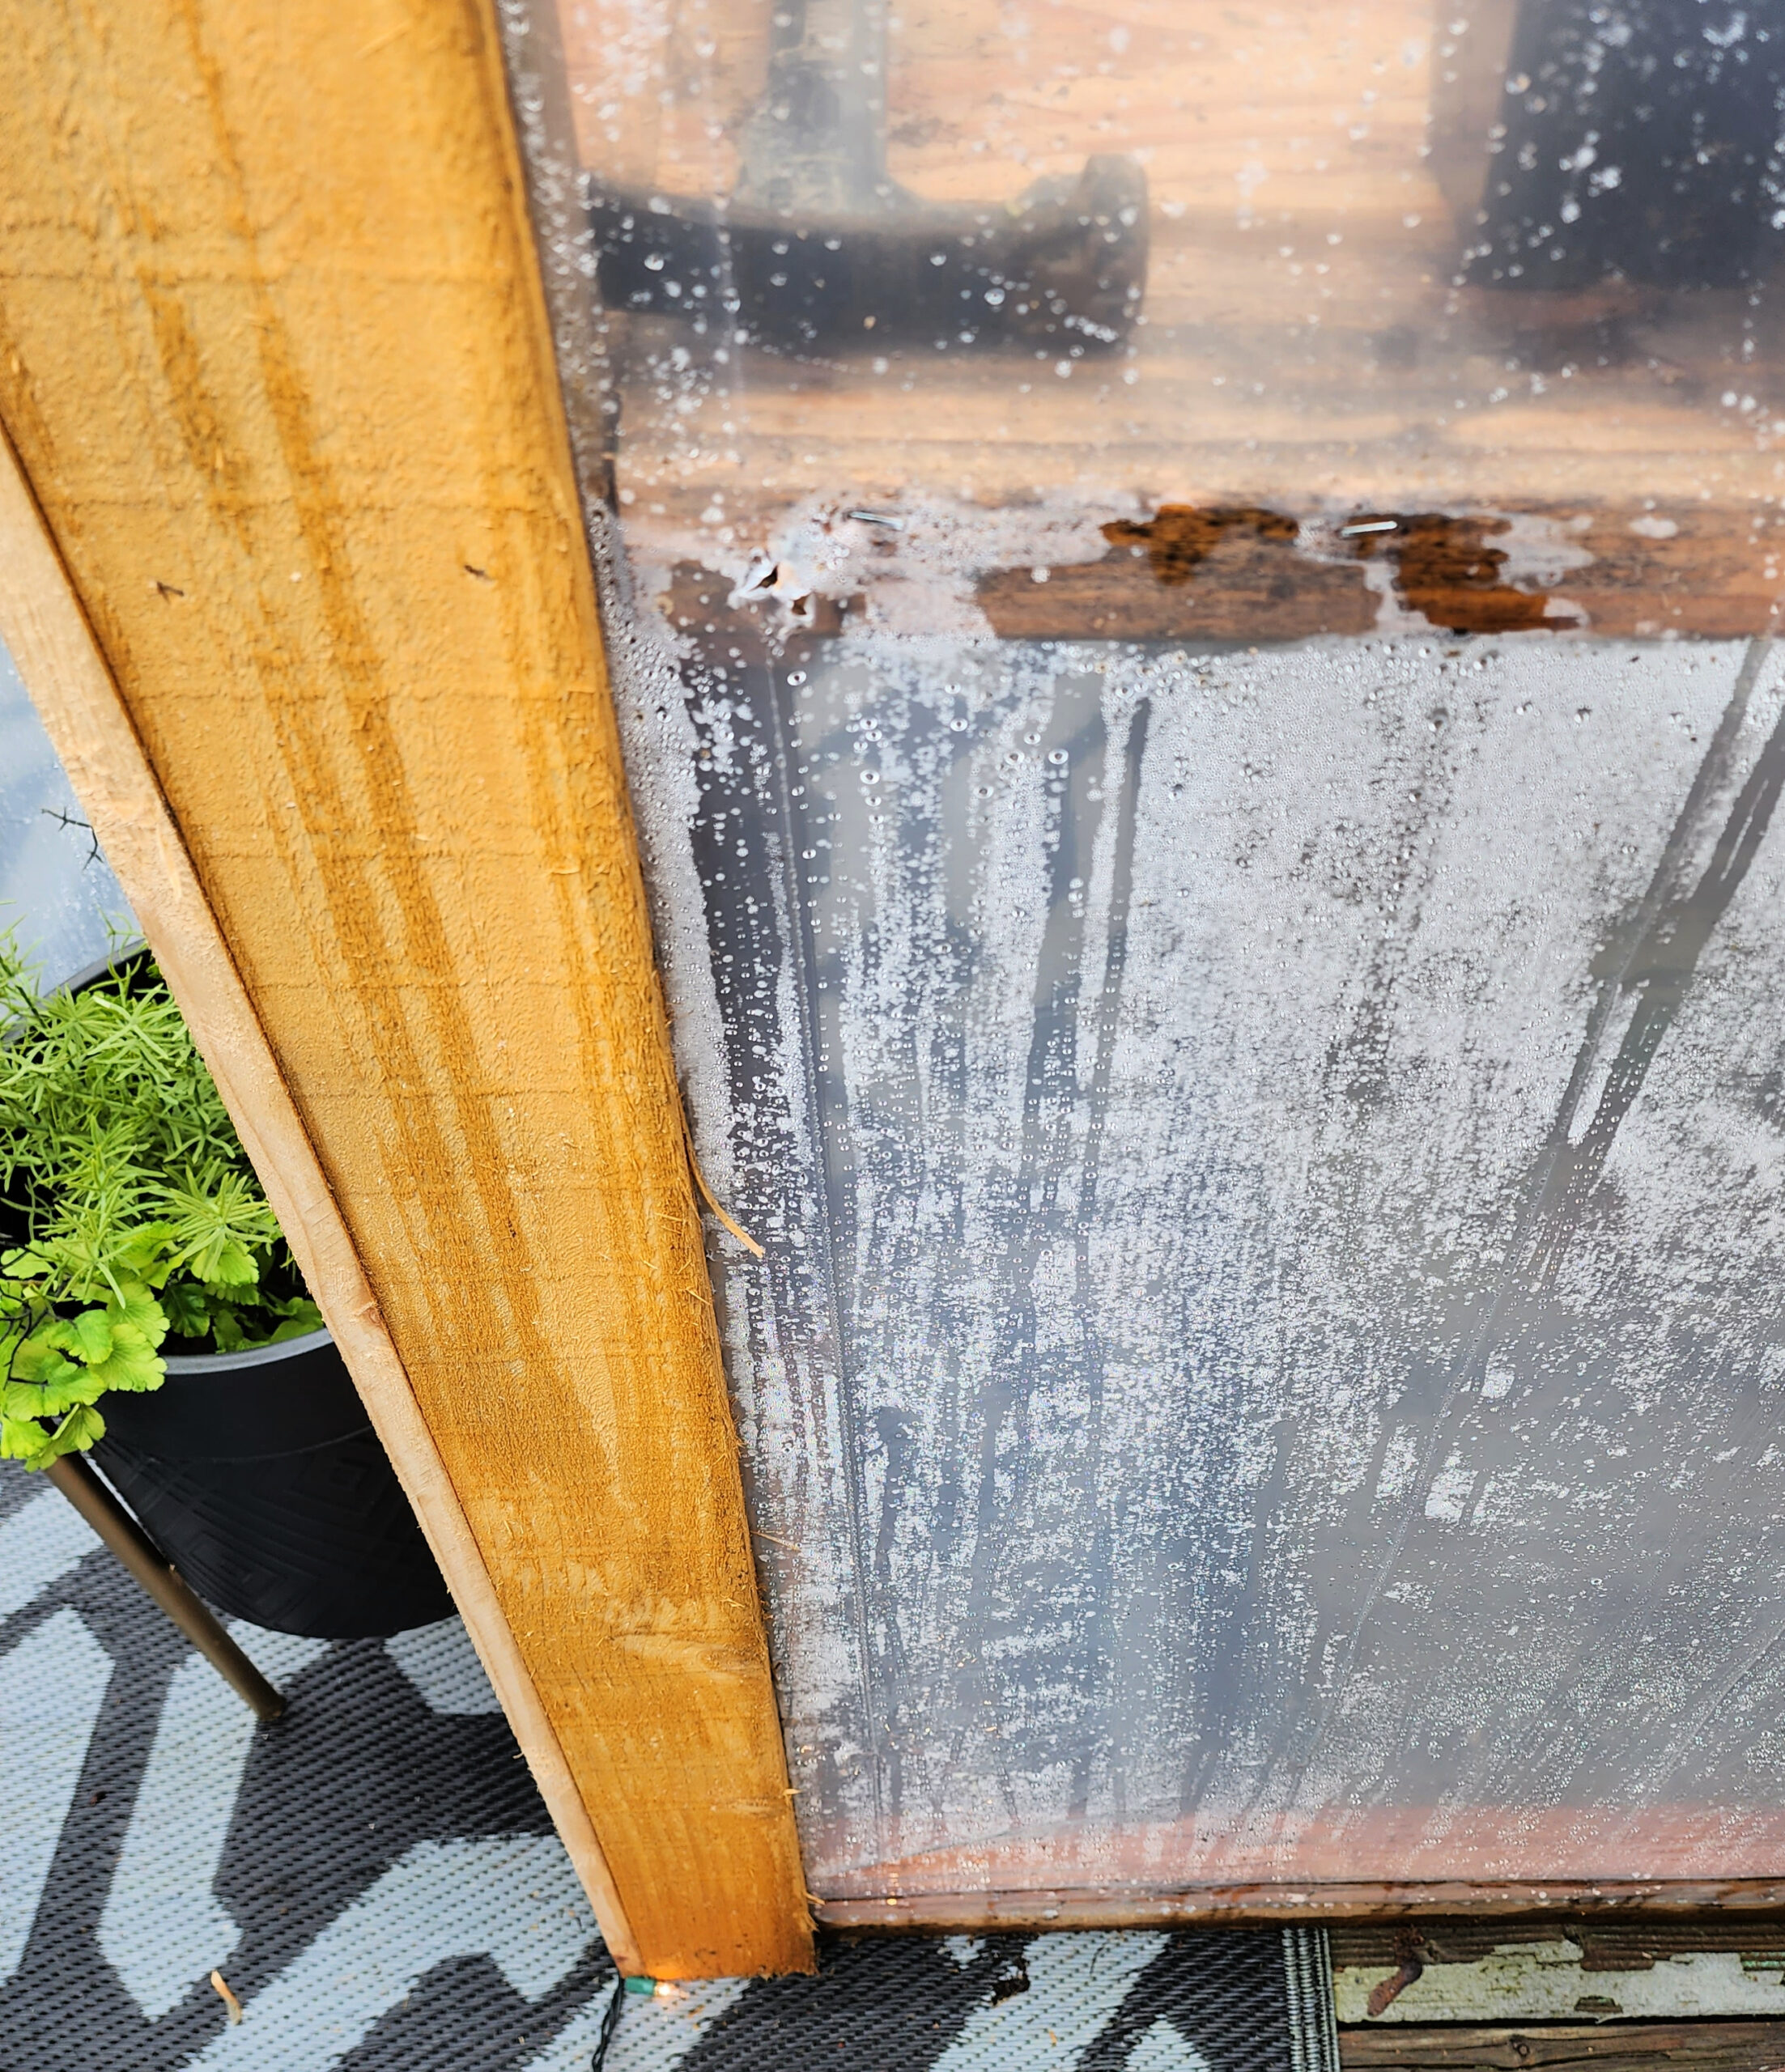
Once that was done we moved our tiered planter back in and added the handle and latches. It was amazing how quickly we noticed a difference in the temperature as well as the moisture that built up in the greenhouse right away.
For a bit of added detail we used some leftover cedar fencing to trim the outside edges to make the greenhouse look finished and also strengthen the plastic.
I have moved some more starts (lettuce and spinach) into the greenhouse now to make room on the heat mats and under the grow lights for new seeds.
I have to admit that after feeding our cat, dogs and bunny the place you will find me every morning is in this little greenhouse. It is my little zen spot, I am loving it!
Thank you so much for reading friend! I hope you have an amazing week, until next time!
xo, Tanya


8 Responses
Tanya, your gardening journey sounds like a wild ride! I can totally relate to being intimidated by seeds. I once tried to grow sunflowers from seed and was convinced they’d never sprout. But lo and behold, they did! Your list of veggies and flowers sounds amazing. I’m curious, how are you planning to keep pests at bay in your greenhouse? And what’s the most challenging part of starting seeds indoors that you’ve encountered so far? Can’t wait to hear about your garden’s progress! 🌱
Your backyard greenhouse build sounds practical and inspiring — especially the scrap-wood and plastic film approach. Excited to try some of your layout and planting tips for this spring!
You can add some potted aquatic plants in your living space. It will help you reduce the time spent on care while still having a green space.
After reading this text, I recognised myself — I was also afraid to start with seeds for a long time, because it seemed that one failure would destroy all my enthusiasm. In fact, what the author writes about the constant risks even with seedlings really resonates with me. Gardening is always an experiment, and you shouldn’t expect perfect results. I like the honesty and simplicity of the presentation. By the way, while looking for other information, I came across an article about sports medicine — https://ways2well.com/blog/regenokine-vs-stem-cell-which-treatment-works-best-in-sports-medicine — and was surprised that it also explains complex things in an accessible way. Both approaches motivate you not to be afraid to try.
Програма ChatGPT сказала:
I love how simple and practical this backyard greenhouse idea is — it makes growing fresh plants feel achievable even with a busy schedule. Building something functional from basic materials always gives a sense of control and structure, and that same mindset helps me stay organized in daily work tasks. Clear planning and reliable tools make any project easier, whether it’s gardening or managing documents and workflow. That’s one of the reasons I pay attention to solutions from https://da-com.com/, where streamlined office systems and smart technology help keep everything running efficiently, just like a well-designed greenhouse keeps a garden thriving.
While the game isn’t terrifying every second, horror games excels at making players uncomfortable for long stretches of time. That constant unease is what defines a memorable horror experience more than any single jump scare.
escape road city: Hidden maps unlock over 90 unique vehicles to discover and drive.
okay let me join it steal a brainrot